The Best DIY STEM Tutorials and Projects

OVERVIEW
In This tutorial, we’re going to walk you through creating your very first Arduino code to blink an LED using mBlock’s block programming. It’s going to be fun, easy, and a great introduction to the world of Arduino programming. So, let’s dive right in!”
You can choose between two fun ways to learn:
Option 1: Watch the cool video tutorial to see and follow along step by step.
Option 2: If you like reading, check out the easy-to-follow written instructions below.
Video Tutorial
Awesome work, buddy! If you have any questions or need help, just leave a comment or contact us. We’re always here to help you out!
Tell us in the comments how you feel about making your first Arduino CODE, we will soon make many more cool stuff 🌟💡
Don’t forget to share a video of your project with us, thanks!
Components Required
For This Project You will need the following components:
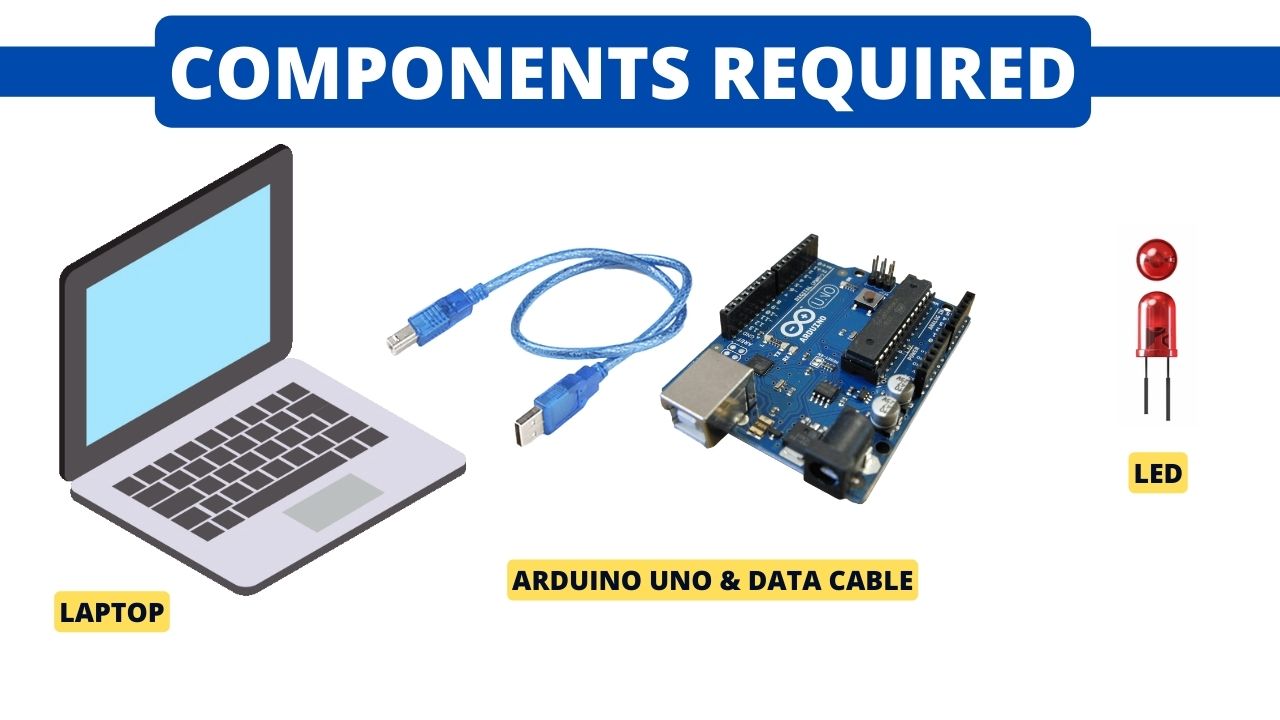
| Sr # | Item Name | Quantity |
|---|---|---|
| 1 | Arduino Uno | 1 |
| 2 | Arduino Uno’s Cable | 1 |
| 3 | LED | 1 |
| 4 | Laptop or a PC | 1 |
Circuit Diagram
First Things First, Lets Setup the Circuit as shown in the image below
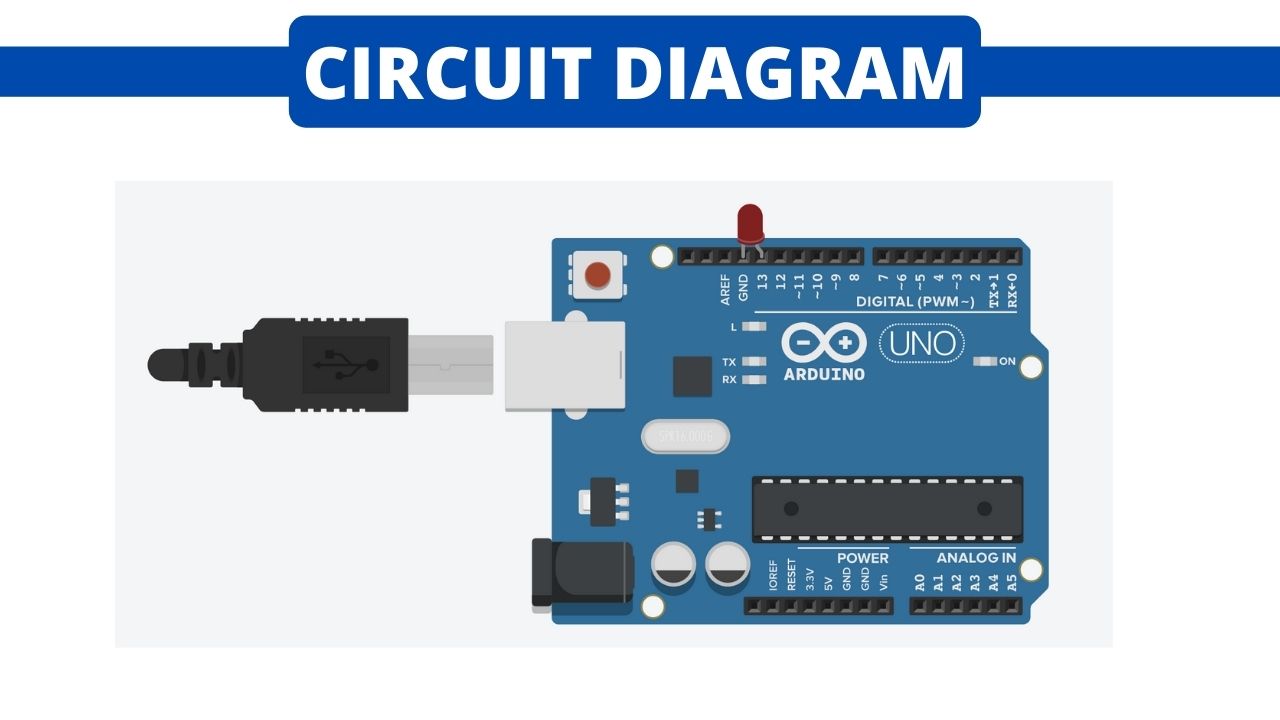
- Connect the Arduino Uno’s board to the Laptop using the Data Cable.
- Insert the LED in the Arduino, with the longer leg (the positive side) in Pin 13 and the shorter leg (the negative side) in G N D as shown in the image above
Good Job! Our circuit is now set up and ready to go.
Coding With Mblock
Now comes the fun part! We’re going to program our LED to blink. Here’s how:
- Open Mblock and go to devices
- In the mBlock interface, go to ‘Devices’ and select the Arduino UNO. Remove Other Devices if there are any
- Add Arduino Uno from Devices
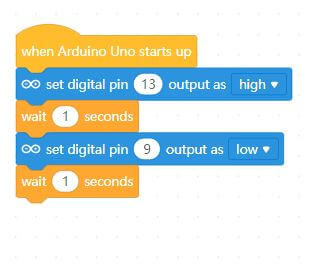
- Now Find add the following blocks, your code should look like this
- when Arduino Starts Up
- ——forever
- —————set digital pin (13) output as high
- —————wait (1) seconds
- —————set digital pin (13) output as low
- —————wait (1) seconds
also shown in the image below
Now upload the code to Arduino!


