The Best DIY STEM Tutorials and Projects

OVERVIEW
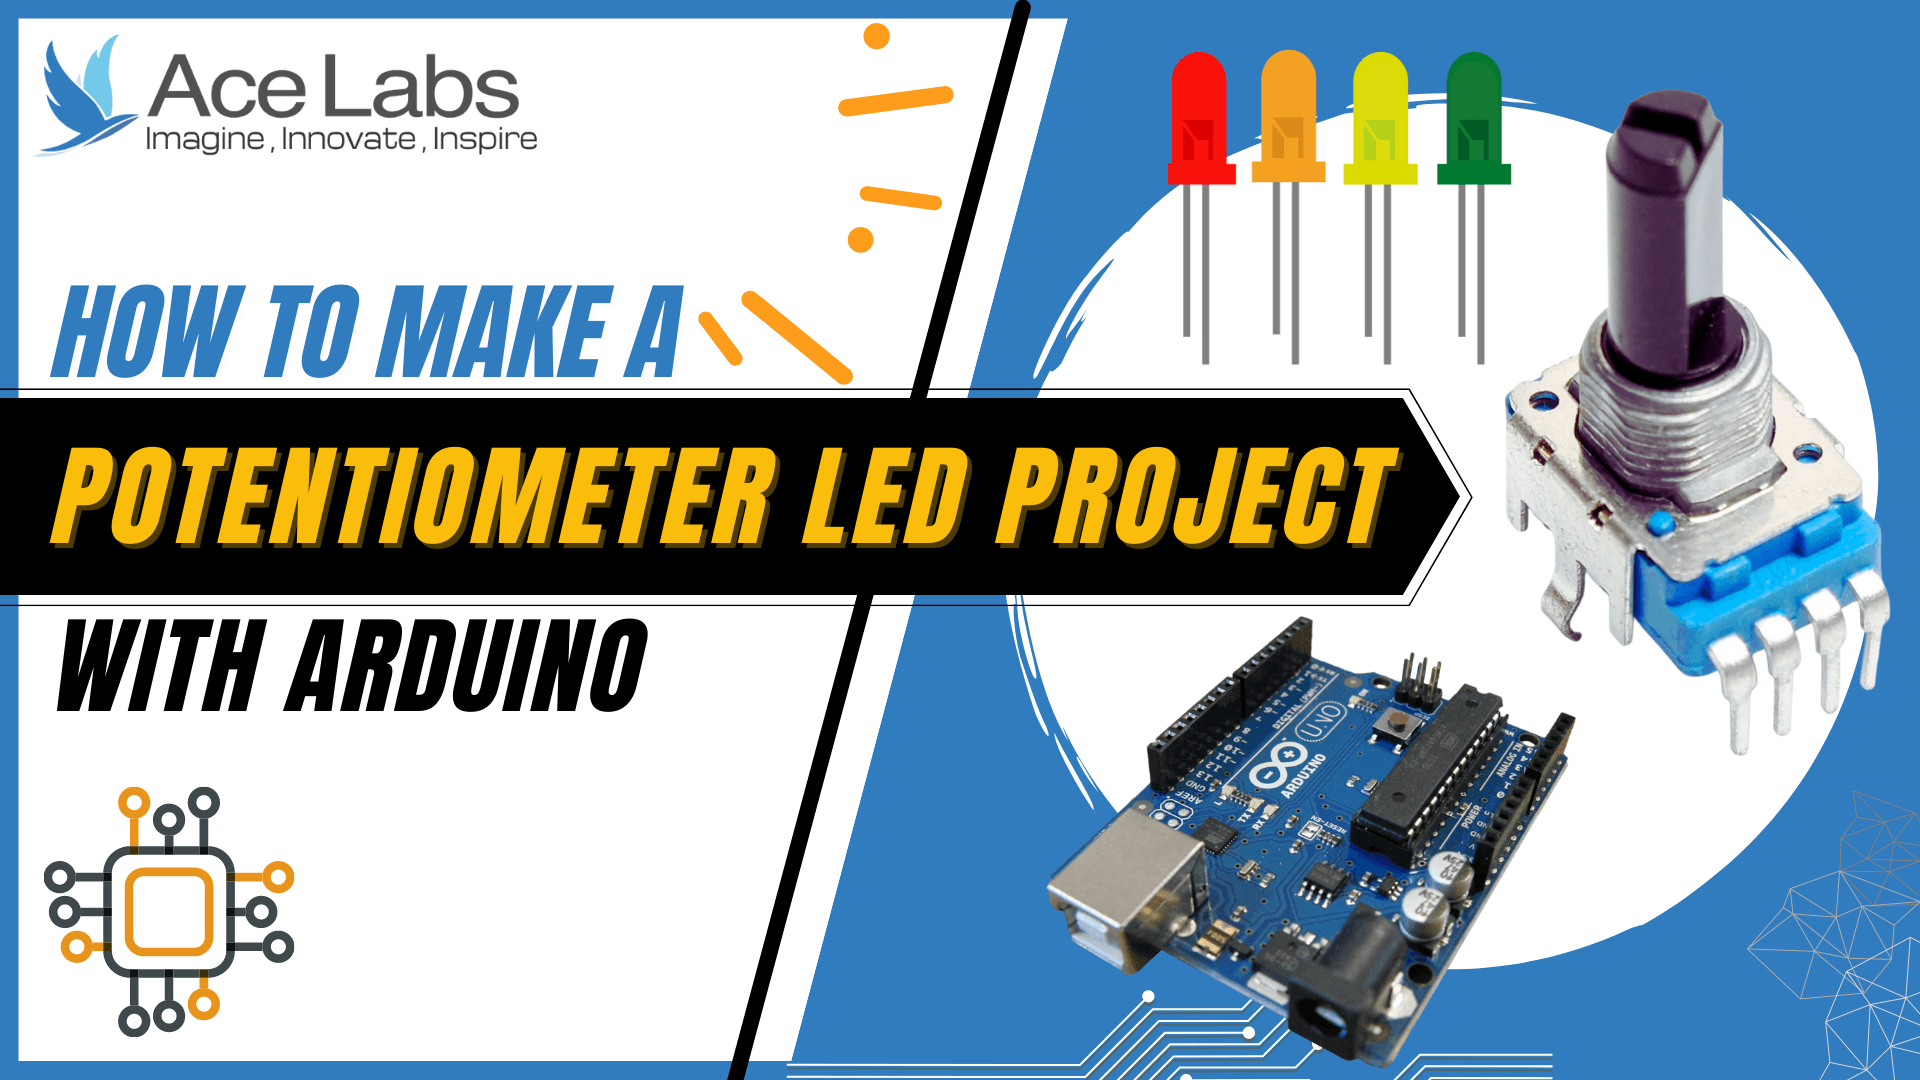
In this project we will make Potentiometer and LED Project using Arduino Uno and LEDs, we will rotate potentiometer’s knob to control 1 to 4 LEDs.
You can follow this video and the instructions below to make this Amazing Automatic Door Project.
Video
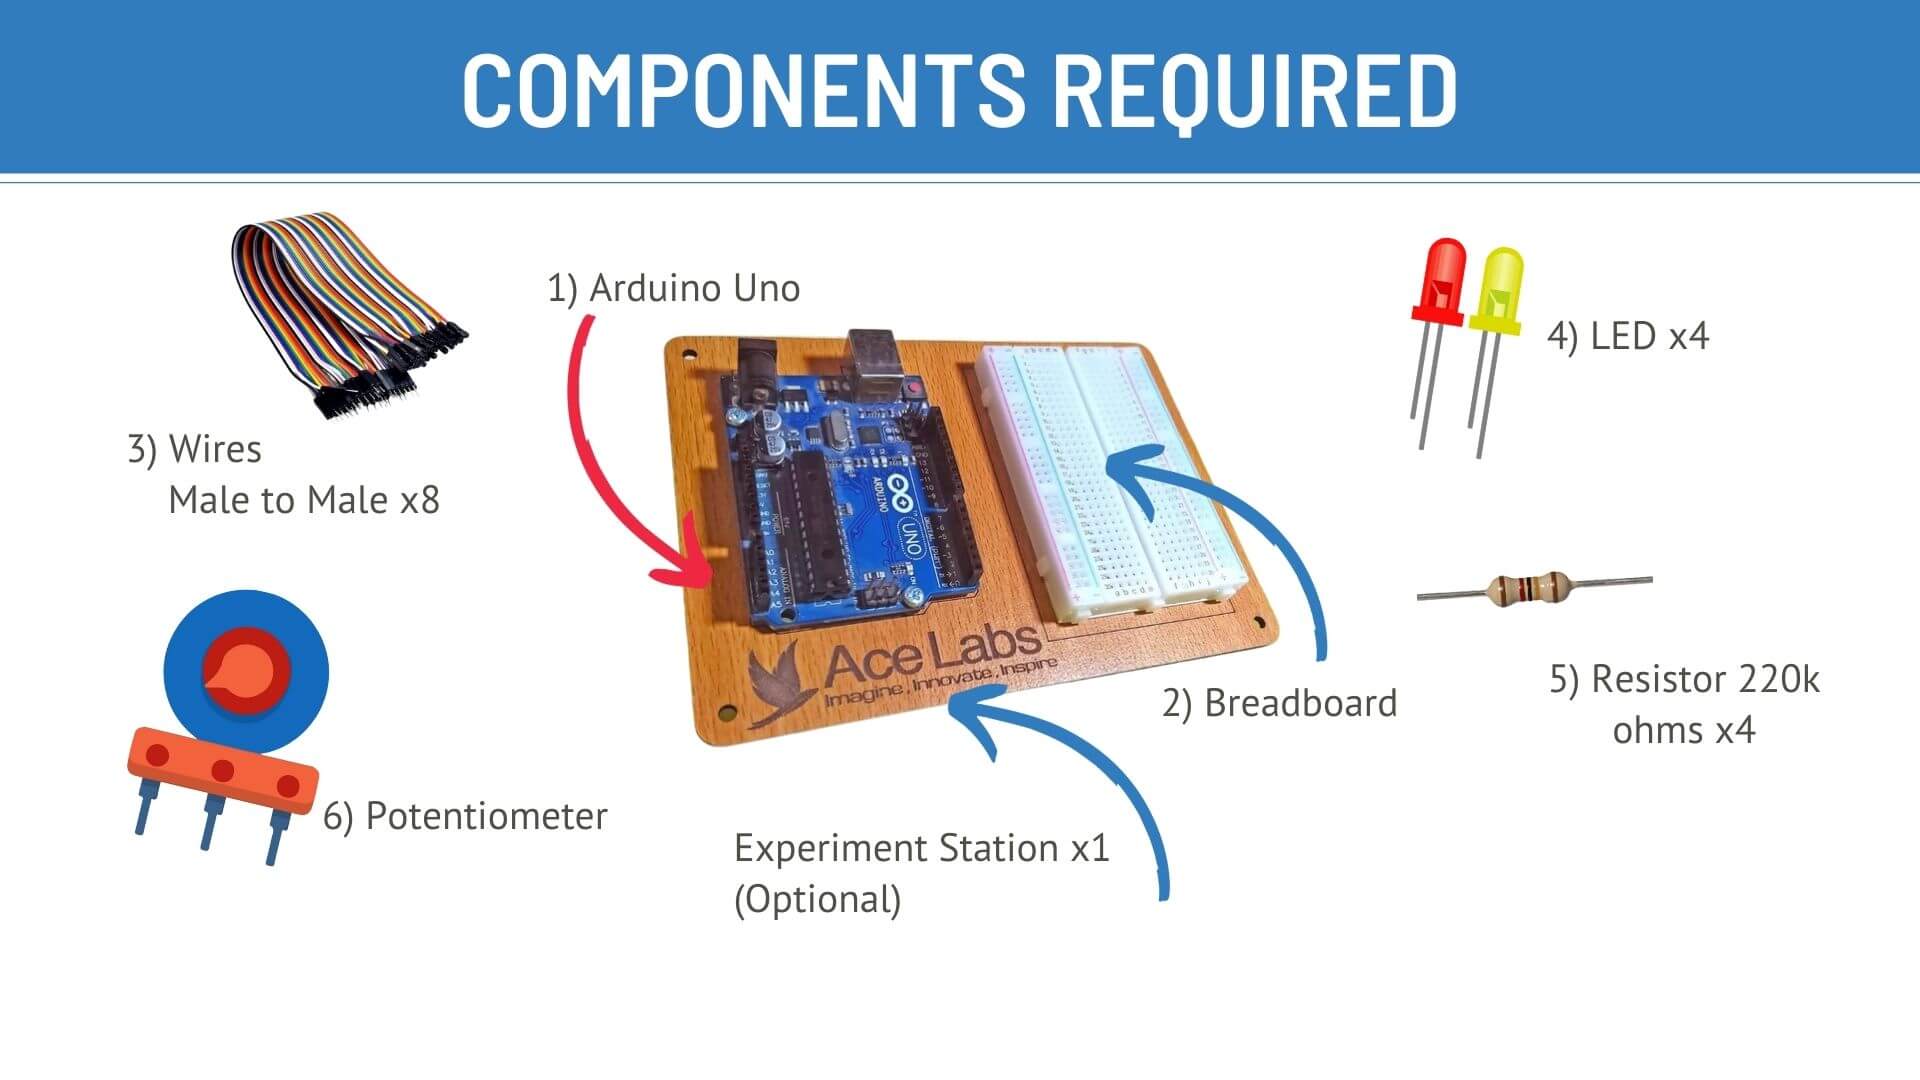
Components Required
Here is a list of Components that we will need to make this Project.

| Sr # | Item Name | Quantity |
|---|---|---|
| 1 | Arduino Uno | 1 |
| 2 | Breadboard | 1 |
| 3 | Male to Male Jumper Wire | 8 |
| 4 | LED | 4 |
| 5 | Resistors 220k ohms | 4 |
| 6 | Potentiometer | 1 |
Wiring Diagram
Here is a Complete Wiring Diagram along with Instructions for this Project

Program / Code
Code is Explained in the Comments of the Code
// Potentiometer and LED Project by --- AceLabs ---

int sensorValue = 0;
int led1=4,led2=5,led3=6,led4=8;

void setup()
{

  pinMode(led1,OUTPUT);
  pinMode(led2,OUTPUT);
  pinMode(led3,OUTPUT);
  pinMode(led4,OUTPUT);

}

void loop()
{
  sensorValue=analogRead(A0);
  sensorValue=map(sensorValue,0,1023,0,4);

  delay(100);

  if (sensorValue==0){

    digitalWrite(led1,LOW);
    digitalWrite(led2,LOW);
    digitalWrite(led3,LOW);
    digitalWrite(led4,LOW);
  }

  if (sensorValue==1){

    digitalWrite(led1,HIGH);
    digitalWrite(led2,LOW);
    digitalWrite(led3,LOW);
    digitalWrite(led4,LOW);
  }

  if (sensorValue==2){

    digitalWrite(led1,HIGH);
    digitalWrite(led2,HIGH);
    digitalWrite(led3,LOW);
    digitalWrite(led4,LOW);

  }

  if (sensorValue==3){

    digitalWrite(led1,HIGH);
    digitalWrite(led2,HIGH);
    digitalWrite(led3,HIGH);
    digitalWrite(led4,LOW);
  }

  if (sensorValue==4){

    digitalWrite(led1,HIGH);
    digitalWrite(led2,HIGH);
    digitalWrite(led3,HIGH);
    digitalWrite(led4,HIGH);
  }

}
Thank you so much for going through our tutorial, we hope it was easy to follow and you enjoyed it, please share your feedback and pictures of the project (if you have made it) in the comments below .!


