The Best DIY STEM Tutorials and Projects
OVERVIEW
🚦 Traffic Light Signals with 7-Segment Display & Arduino 🚦
In this project, we’ll build a traffic light system using LEDs and a 7-segment display! The LEDs will change colors just like real traffic lights, while the 7-segment display will show a countdown timer for each signal. This is a great way to learn about timing, sequencing, and how displays work with Arduino! 🛑🟡🟢✨
You can follow this video and the instructions below.
Video
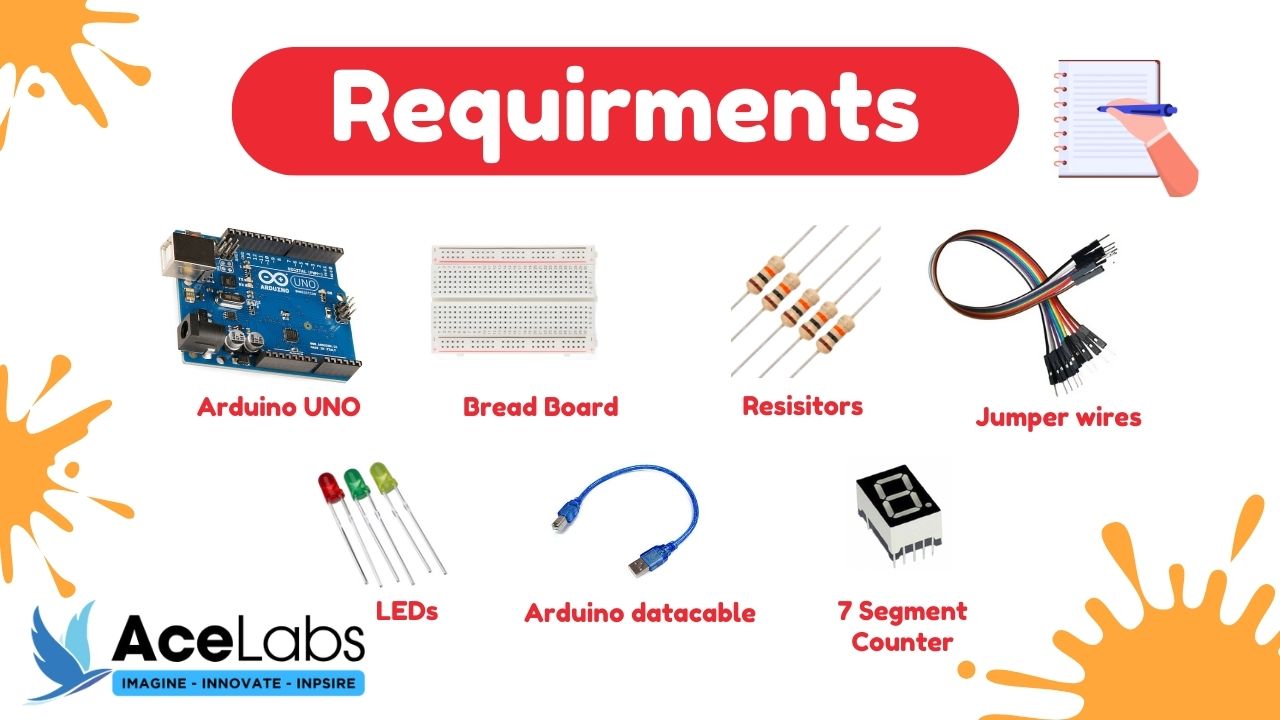
Components Required
Here is a list of Components that we will need to make this Project.
| Sr # | Item Name | Quantity |
|---|---|---|
| 1 | Arduino Uno | 1 |
| 2 | Breadboard | 1 |
| 3 | Resistors | 4 |
| 4 | M-F Jumper wires | 11 |
| 5 | LEDs | 3 |
| 6 | Arduino cable | 1 |
| 7 | 7 Segment display | 1 |
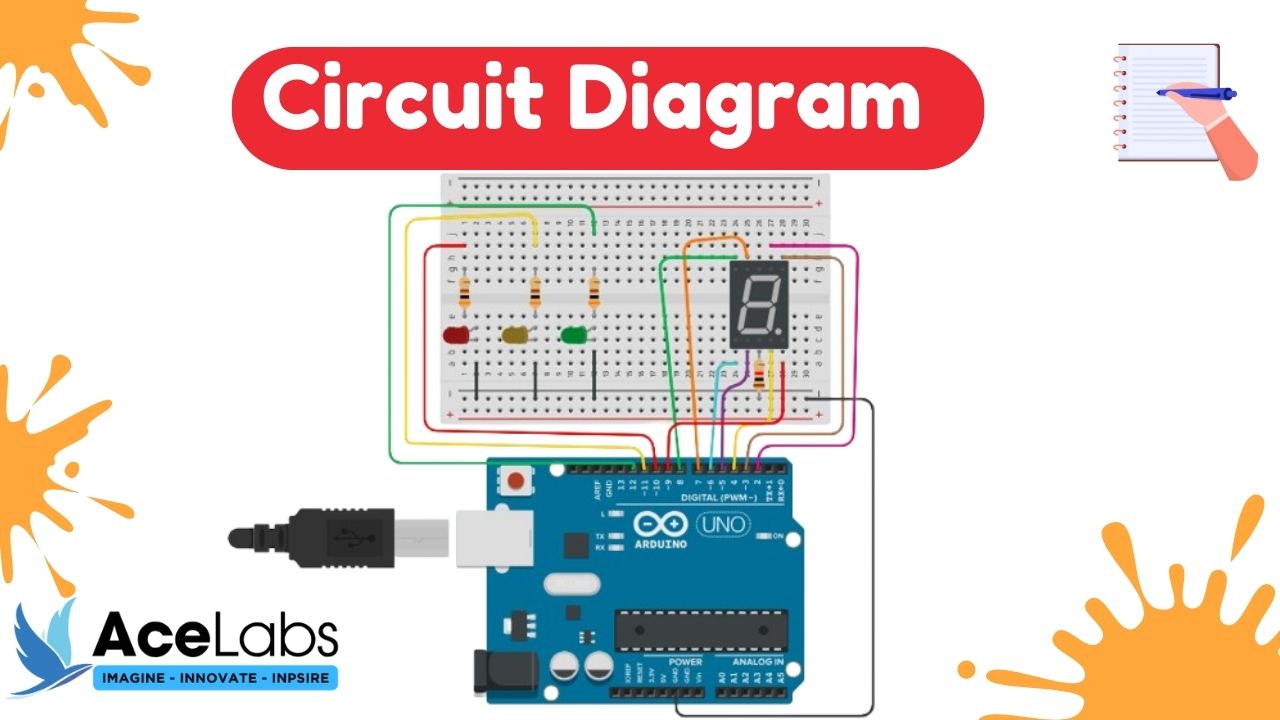
Wiring Diagram
Here is a Complete Wiring Diagram along with Instructions for this Project
Program / Code
Code is Explained in the Comments of the Code
// Define pin connections
const int redPin = 10;   // Red light pin
const int yellowPin = 11; // Yellow light pin
const int greenPin = 12;  // Green light pin
const int displayPins[] = {2, 3, 4, 5, 6, 7, 8}; // 7-segment display pins
const int dpPin = 9;      // Decimal point pin
bool greenCountEnabled = false; // Variable to control green LED count down

void setup() {
  // Initialize pin modes
  pinMode(redPin, OUTPUT);
  pinMode(yellowPin, OUTPUT);
  pinMode(greenPin, OUTPUT);
  pinMode(dpPin, OUTPUT); // Initialize DP pin

  // Initialize 7-segment display pins
  for (int i = 0; i < 7; i++) {
    pinMode(displayPins[i], OUTPUT);
  }
  greenCountEnabled = false;
}

void loop() {

  // Count from 9 to 0
  for (int i = 9; i >= 0; i--) {
    // If greenCountEnabled is true, count down only the green light
    if (greenCountEnabled) {
      digitalWrite(redPin, LOW);
      digitalWrite(yellowPin, LOW);
      digitalWrite(greenPin, HIGH); // Green light on
      displayNumber(i); // Display current number
      delay(1000); // 1-second delay
      // Once green light countdown finishes, set greenCountEnabled to false
      if (i == 0) {
        greenCountEnabled = false;
        // Restart the loop from red light
        i = 10; // Set i to 10 so it will start from 9 in the next iteration
      }
    } else {
      displayNumber(i); // Display current number

      // Control traffic light colors
      if (i == 9) {
        digitalWrite(redPin, HIGH); // Red light on
        digitalWrite(yellowPin, LOW);
        digitalWrite(greenPin, LOW);
      } else if (i == 3) {
        digitalWrite(redPin, LOW);
        digitalWrite(yellowPin, HIGH); // Yellow light on
        digitalWrite(greenPin, LOW);
      } else if (i == 0) {
        digitalWrite(redPin, LOW);
        digitalWrite(yellowPin, LOW);
        digitalWrite(greenPin, HIGH); // Green light on
        greenCountEnabled = true; // Enable green light countdown
      }

      delay(1000); // 1-second delay
    }
  }
}
// Function to display a number on 7-segment display
void displayNumber(int num) {
  // Define 7-segment display bits for each digit (0-9)
  byte segments[][7] = {
    {1, 1, 1, 1, 1, 1, 0}, // 0
    {0, 1, 1, 0, 0, 0, 0}, // 1
    {1, 1, 0, 1, 1, 0, 1}, // 2
    {1, 1, 1, 1, 0, 0, 1}, // 3
    {0, 1, 1, 0, 0, 1, 1}, // 4
    {1, 0, 1, 1, 0, 1, 1}, // 5
    {1, 0, 1, 1, 1, 1, 1}, // 6
    {1, 1, 1, 0, 0, 0, 0}, // 7
    {1, 1, 1, 1, 1, 1, 1}, // 8
    {1, 1, 1, 1, 0, 1, 1}  // 9
  };

  // Check for valid input
  if (num >= 0 && num <= 9) {
    // Display number on 7-segment display
    for (int i = 0; i < 7; i++) {
      digitalWrite(displayPins[i], segments[num][i]);
    }
    digitalWrite(dpPin, HIGH); // Turn on DP
  }

}
Thank you so much for going through our tutorial, we hope it was easy to follow and you enjoyed it, please share your feedback and pictures of the project (if you have made it) in the comments below .!


