The Best DIY STEM Tutorials and Projects
OVERVIEW
In our STEM kit, we’ll be using the fantastic MBlock software to program all sorts of incredible projects! MBlock is perfect for young learners because it uses a colorful and easy-to-understand block coding system. You’ll be able to connect blocks like puzzle pieces to create your very own code, making the learning process both fun and engaging.
Our STEM kit is designed to spark your imagination and help you explore the exciting world of science, technology, engineering, and mathematics. With MBlock and Arduino, you’ll be able to bring your creative ideas to life by programming various projects, like robots, sensors, and interactive games.
Each project in the STEM kit is carefully crafted to teach important concepts and skills while keeping the experience enjoyable. As you progress through the kit, you’ll gain a solid understanding of programming and electronics, preparing you for more advanced projects in the future.
Get ready to embark on a thrilling journey of discovery and innovation with MBlock, and our fantastic STEM kit! Together, they’ll provide endless hours of learning, exploration, and fun!
First Lets Download and install mBlock Software, follow the instructions below
Instructions
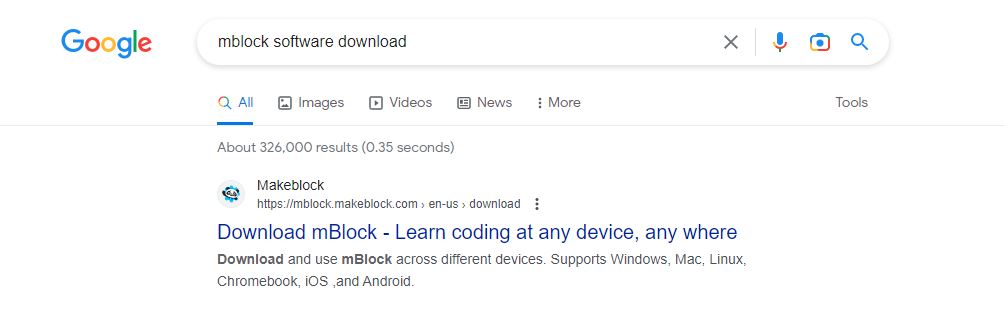
Step 1: Let’s get started by finding the MBlock software download. Type “mblock software download” into Google’s search bar and look for the first link that shows up, just like in the image provided below. To make things even simpler, you can also click the link below:
By following the link, you’ll be taken straight to the MBlock download page
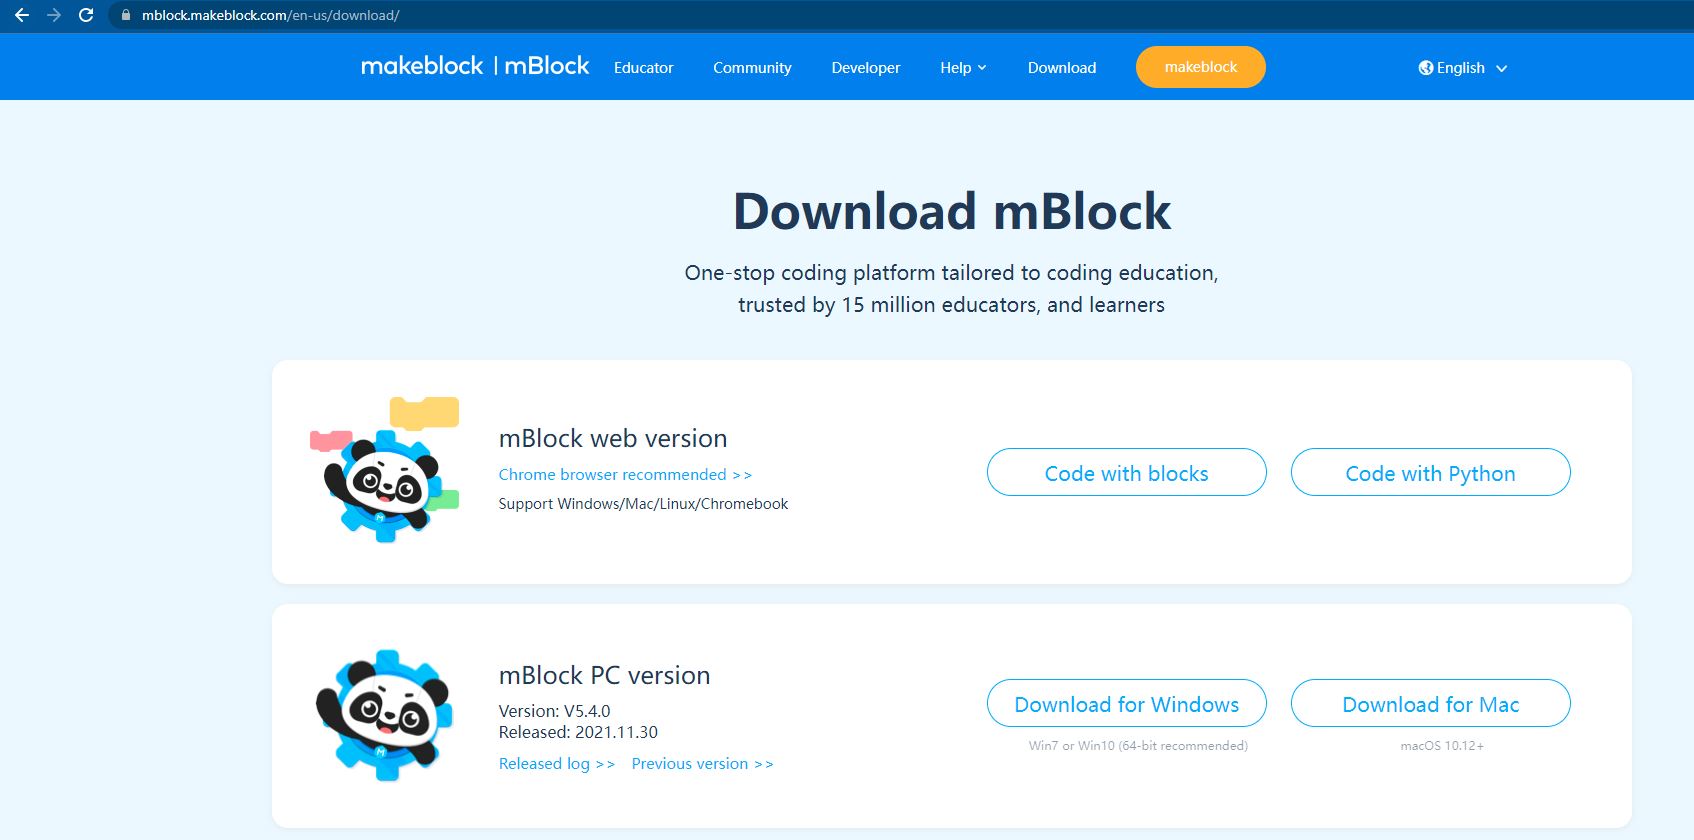
Step 2: Yay! You’ve made it to the download page! Now, you’ll see two choices for the MBlock PC version. If your computer is a Windows, click on “Download for Windows.” If you have a Mac, click on “Download for Mac.” Picking the right one will help you get set up super easily, and soon you’ll be ready for some awesome coding fun! 🎉💻
Step 3: Great job! After the download is complete, open the file and start installing it. If it asks for any permissions, go ahead and give them so MBlock can get all set up.

Step 4: If a message pops up asking you to install an additional driver, just like in the picture below, go ahead and click “Install.” It’s important to install this driver too so that everything works perfectly for your amazing coding journey! 🌈🚀
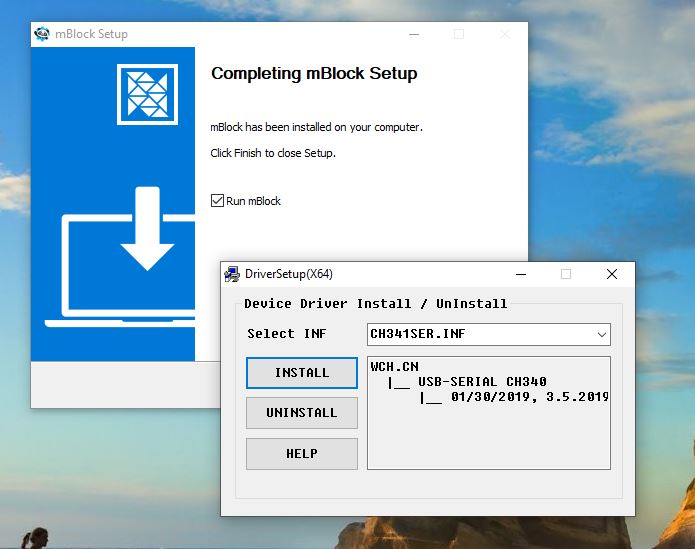
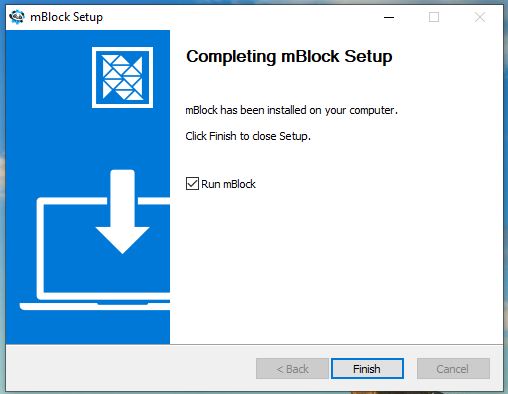
Step 5: Fantastic job, you’re almost there! Before clicking the “Finish” button, make sure the “Run mBlock” box is ticked. This will launch the mBlock software (give it a moment to load). From now on, whenever you want to use mBlock, you can easily open it directly from the mBlock icon on your desktop. Get ready for some coding magic! ✨🎉
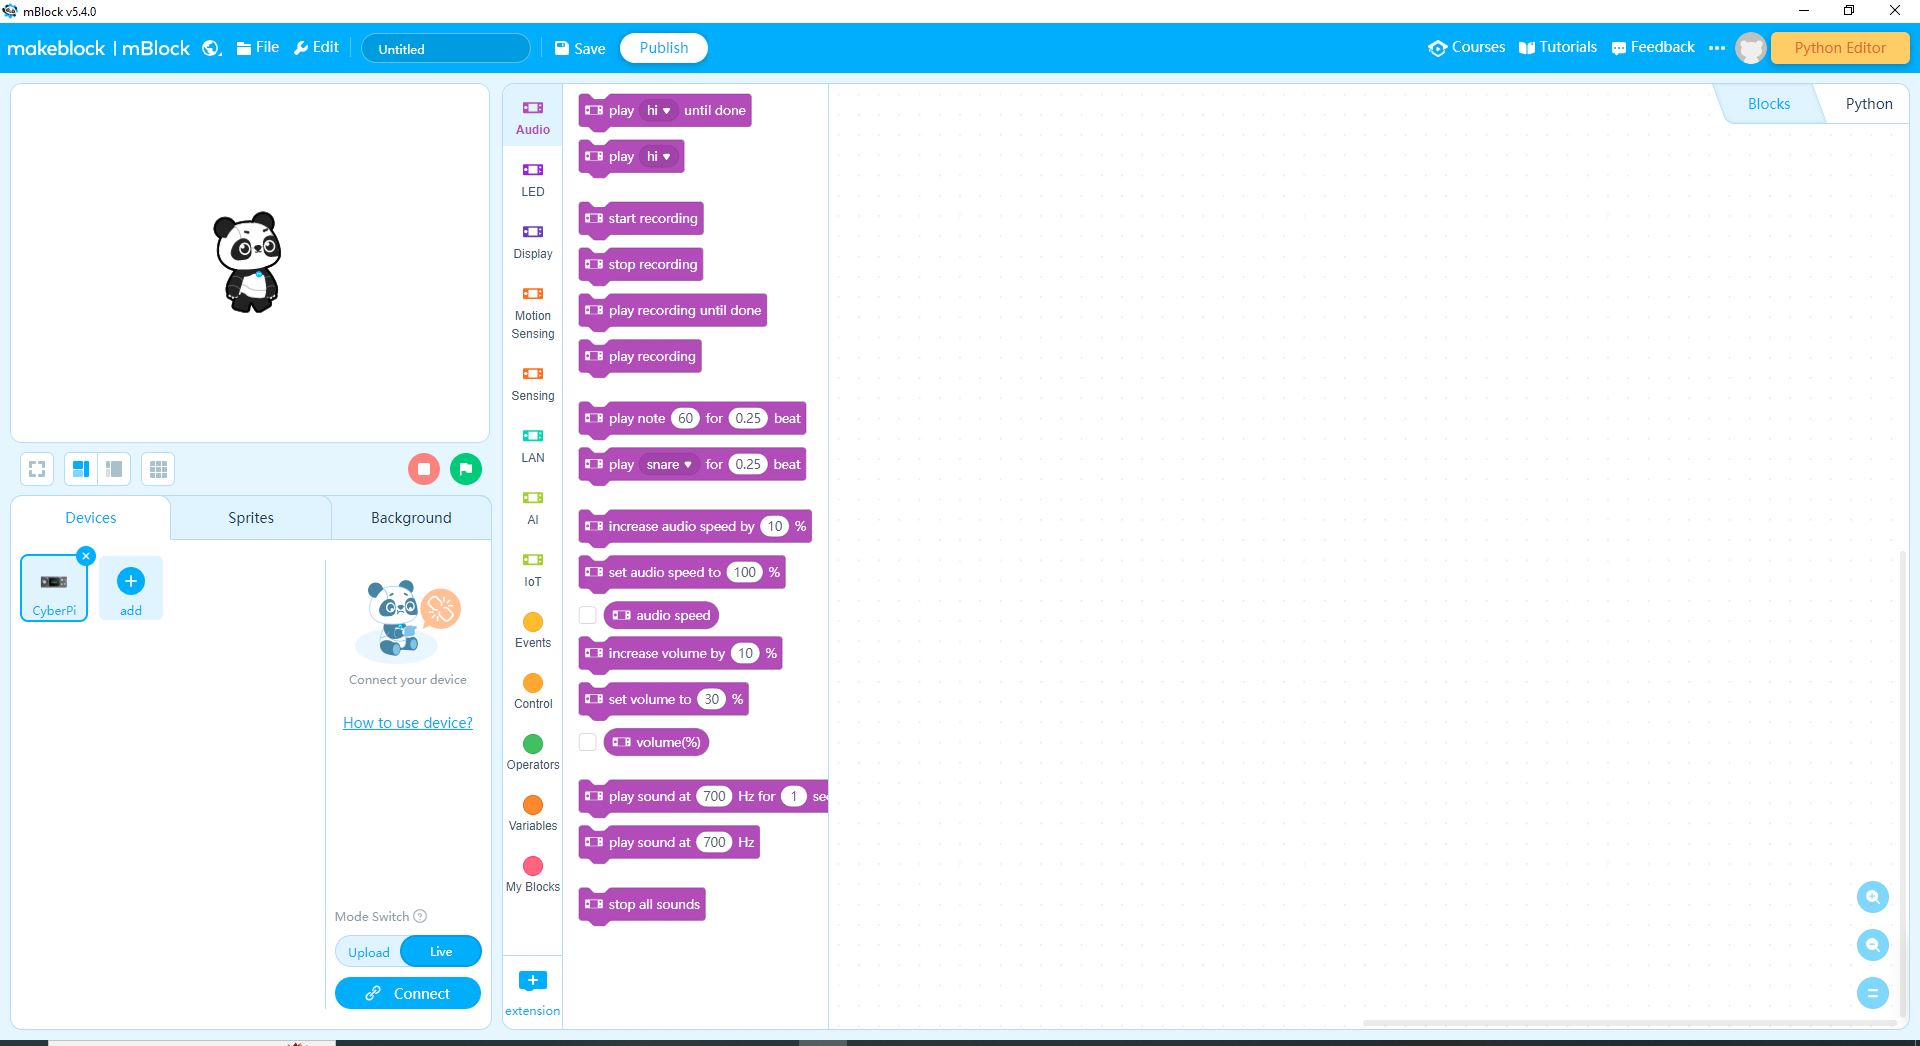
Step 6: And… Great job! Hurray! 🎉🥳 You’ve successfully installed and opened mBlock, which means you’re ready to dive into the fantastic world of coding.
Once mBlock loads, it will look like the image below. Don’t worry if it seems a bit confusing at first; we’ll explore all the cool features of mBlock step by step in the upcoming chapters!
If you have any questions or need help, feel free to leave a comment or reach out to us. We’re here to help you become a coding and electronics superstar! 🌟💡


It is tracking too much tome
It is taking too much time