The Best DIY STEM Tutorials and Projects

OVERVIEW
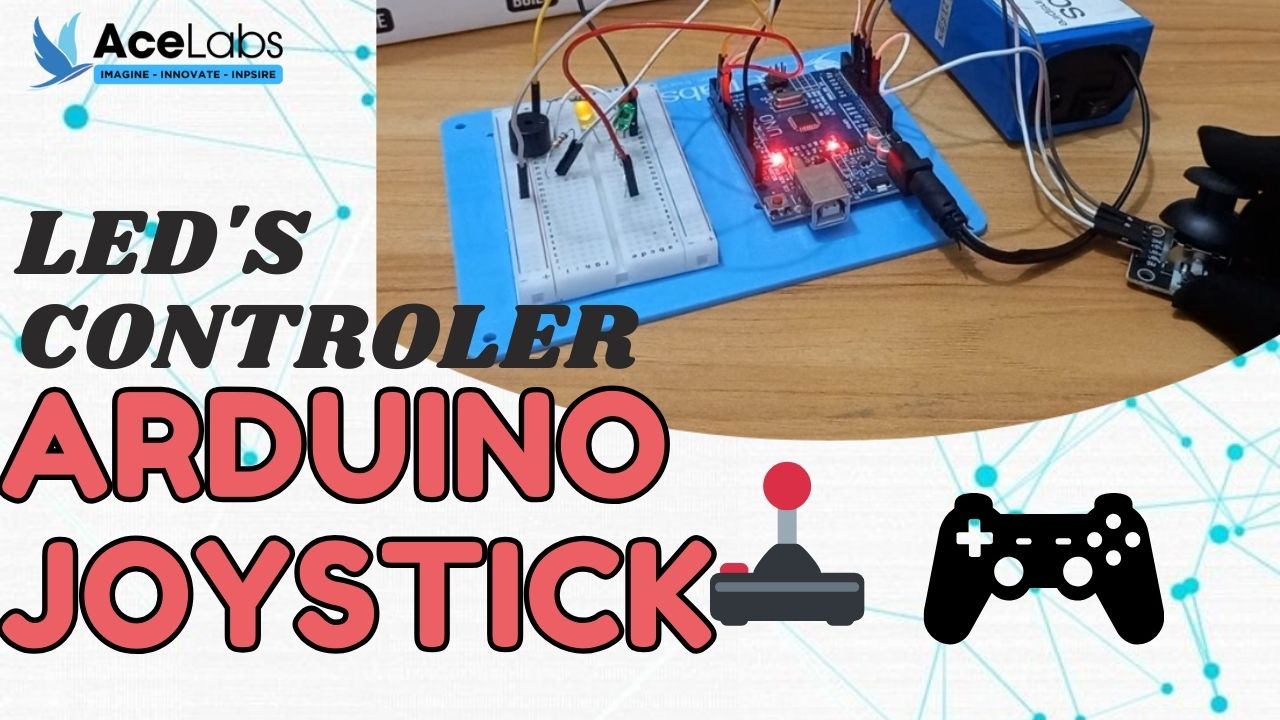
In this project, we use a joystick to control LEDs, just like a game controller! Moving the joystick in different directions will turn LEDs on and off, helping us understand how input from sensors can be used to control outputs. It’s a fun way to learn about analog signals and Arduino programming! 🚀✨
You can follow this video and the instructions below.
Video
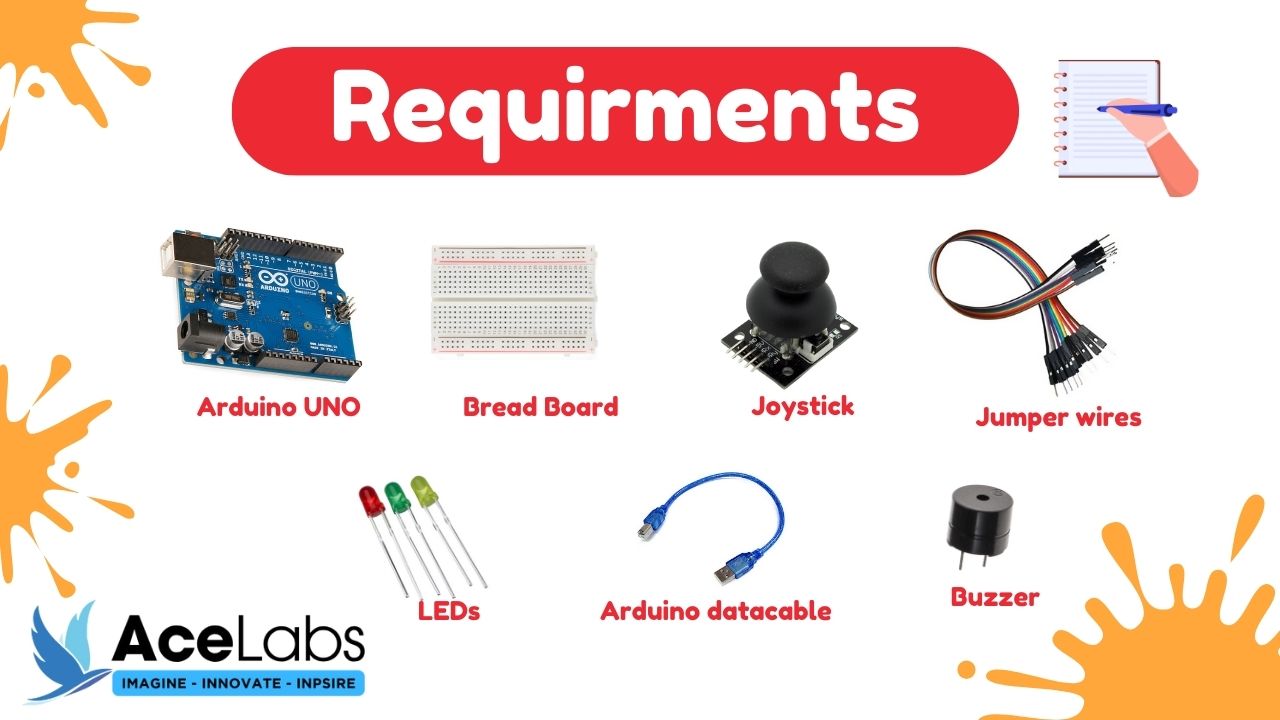
Components Required
Here is a list of Components that we will need to make this Project.

| Sr # | Item Name | Quantity |
|---|---|---|
| 1 | Arduino Uno | 1 |
| 2 | Breadboard | 1 |
| 3 | Joystick | 1 |
| 4 | Jumper wires | 9 |
| 5 | LEDs | 3 |
| 6 | Arduino cable | 1 |
| 7 | Buzzer | 1 |
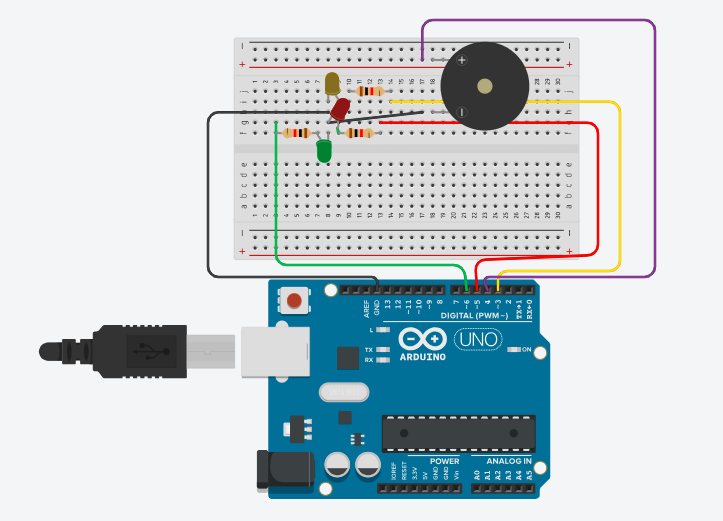
Wiring Diagram
Here is a Complete Wiring Diagram along with Instructions for this Project

Program / Code
Code is Explained in the Comments of the Code
const int joystickX = A0;
const int joystickY = A1;
const int redLed = 3;
const int yellowLed = 5;
const int greenLed = 6;
const int buzzer = 4;

void setup() {
  // put your setup code here, to run once:
  pinMode(redLed, OUTPUT);
  pinMode(yellowLed, OUTPUT);
  pinMode(greenLed, OUTPUT);
  pinMode(buzzer, OUTPUT);
}

void loop() {
  // put your main code here, to run repeatedly:
  int xValue = analogRead(joystickX);
  int yValue = analogRead(joystickY);
  int threshhold = 400;
  //updirection
  if (yValue < threshhold){
   digitalWrite(yellowLed, HIGH);
   digitalWrite(redLed, LOW);
   digitalWrite(greenLed, LOW);
   noTone (buzzer);
  }
  //downdirection
  else if (yValue > 600){
     tone(buzzer, 1000);
     delay(50);
     digitalWrite(yellowLed, LOW);
     digitalWrite(redLed, LOW);
     digitalWrite(greenLed, LOW);
  }
  // right direction
 else if (xValue > 600){
     noTone(buzzer);
     digitalWrite(yellowLed, LOW);
     digitalWrite(redLed, HIGH);
     digitalWrite(greenLed, LOW);
  }
  // left direction
else if (xValue < threshhold){
     noTone(buzzer);
     digitalWrite(yellowLed, LOW);
     digitalWrite(redLed, LOW);
     digitalWrite(greenLed, HIGH);
  }
}
Thank you so much for going through our tutorial, we hope it was easy to follow and you enjoyed it, please share your feedback and pictures of the project (if you have made it) in the comments below .!


