The Best DIY STEM Tutorials and Projects

OVERVIEW
Awesome job on setting up mBlock, In this tutorial, we’ll take a closer look at the colorful and easy-to-use interface of mBlock and learn how to use it to create some really fun programs. We’ll explore all the different parts of the interface and show you how to use them to make your very own unique programs by simply dragging and dropping colorful blocks. By the end of this tutorial, you’ll have a basic understanding of mBlock.
Instructions
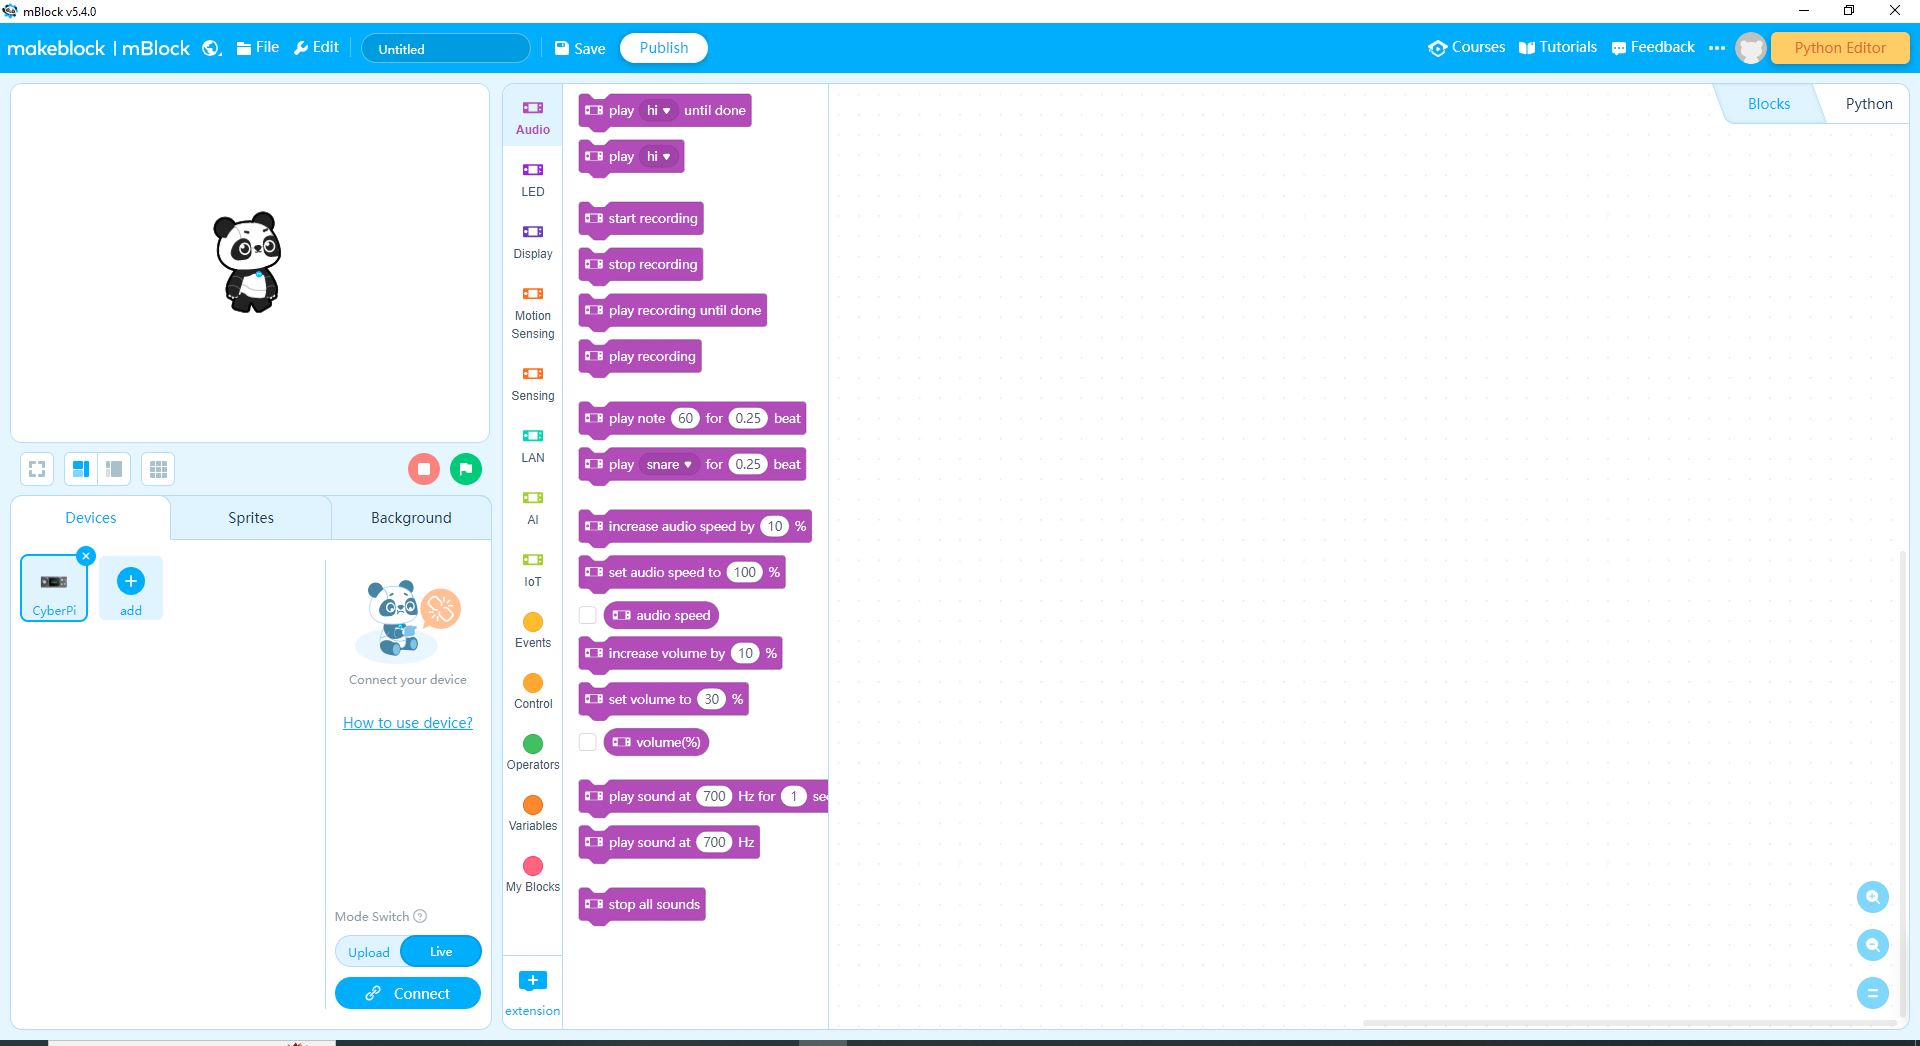
Step 1: so after opening mblock, it should look like this as we saw in the previous chapter

Step 2: Now let’s learn what different areas of mblock software are and what they are used for: (see the image below)

Step 3: In the image above, you can see four different areas marked by rectangles of different colors:
- The Workspace (RED): This is where we write our code using blocks. It’s like a big space where we can drag and drop blocks to make our program.
- The Blocks Library (Green): This area has all the different blocks we can use to write our code. We can easily drag and drop the blocks we want from here to the workspace.
- The Settings (Blue): This area has three tabs: Devices, Sprites, and Background. Here, we can change things like what our characters look like or what kind of device we’re using.
- The Stage (Orange): This is where we can see our program in action! It’s like a big stage where our characters can move around and do cool things based on the code we’ve written.

Step 4:
Now, let’s talk in detail about the Stage area! This is where all the action happens and where you can see your program in action. A character like the one you see in the image, the cute panda, is called a sprite. Everything behind the sprite is called the background.
You can make the stage area go full screen by clicking on the icon shown in the image above. This way, you can see your program in all its glory and enjoy watching your sprites move around and interact with each other.

Step 5: Now, let’s explore the Settings area in more detail. There are three tabs in this area: Devices, Sprites, and Background. Each tab has its own settings for different things.
- If you click on the Sprites tab, you will see blocks and options for sprites. You can choose different characters for your sprites, change their colors, add animations, and more.
- If you click on the Background tab, you will see options for playing around with the background. You can change the color of the background or add an image to make your program more interesting.
- If you click on the Devices tab, you will see options for devices. In the future, you will connect and program your Arduino board using these options.
For now, let’s just click on the Sprites tab. You will notice that the blocks in the Blocks Library area have changed. This is because the blocks available in this area are now specific to sprites. So, let’s start exploring the different blocks and see what amazing things we can create with them!

Step 6: In the Blocks Library section you will notice a few things as shown by rectangles of different colors in the image
- Inside the purple rectangle, there are different types or categories of blocks, each represented by a small circle with a unique color. For example, blue is for motion, and yellow is for events.
- When you click on any category, you’ll see blocks of the same group pop up on the right. It’s like opening a box of building blocks that all belong to the same set!
- Remember, all the blocks in a category share the same color as their parent group. This will help you easily find the right blocks in the future.
Now comes the fun part! You can simply drag and drop blocks from the Blocks Library into your workspace. Give it a try, try figuring out if you can join these blocks together in the workspace

Great job so far, buddy! If you have any questions or need help, just leave a comment or contact us. We’re always here to help you out! Get ready, because, in the next chapter, we’re going to create our very first game together. It’s going to be super-duper fun and exciting! 🌟💡


