The Best DIY STEM Tutorials and Projects
OVERVIEW
Hey there, Science Explorer! Have you ever noticed those tiny, glowing things in lots of the stuff we use every day? They flash when we take pictures with a camera, help us tell time on digital clocks, and make fairy lights look magical. They’re even in our TV screens, making our favorite cartoons look bright and colorful!
Well, those little glowing wonders are called LEDs. That’s short for Light Emitting Diode. LEDs are like tiny light bulbs that come alive when electricity flows through them. They’re really cool because they can be super small and come in all sorts of colors, making our world a more fun and bright place to be!
What is an LED ?
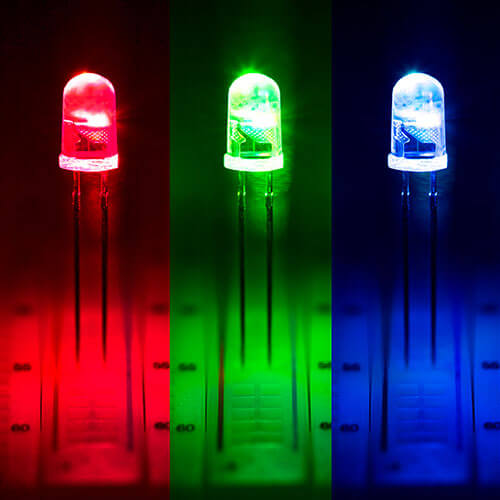
You know how regular light bulbs light up your room? LEDs are kind of like those, but much smaller and more energy-efficient. They come in different colors, like red, green, blue, and even some that change colors all by themselves!
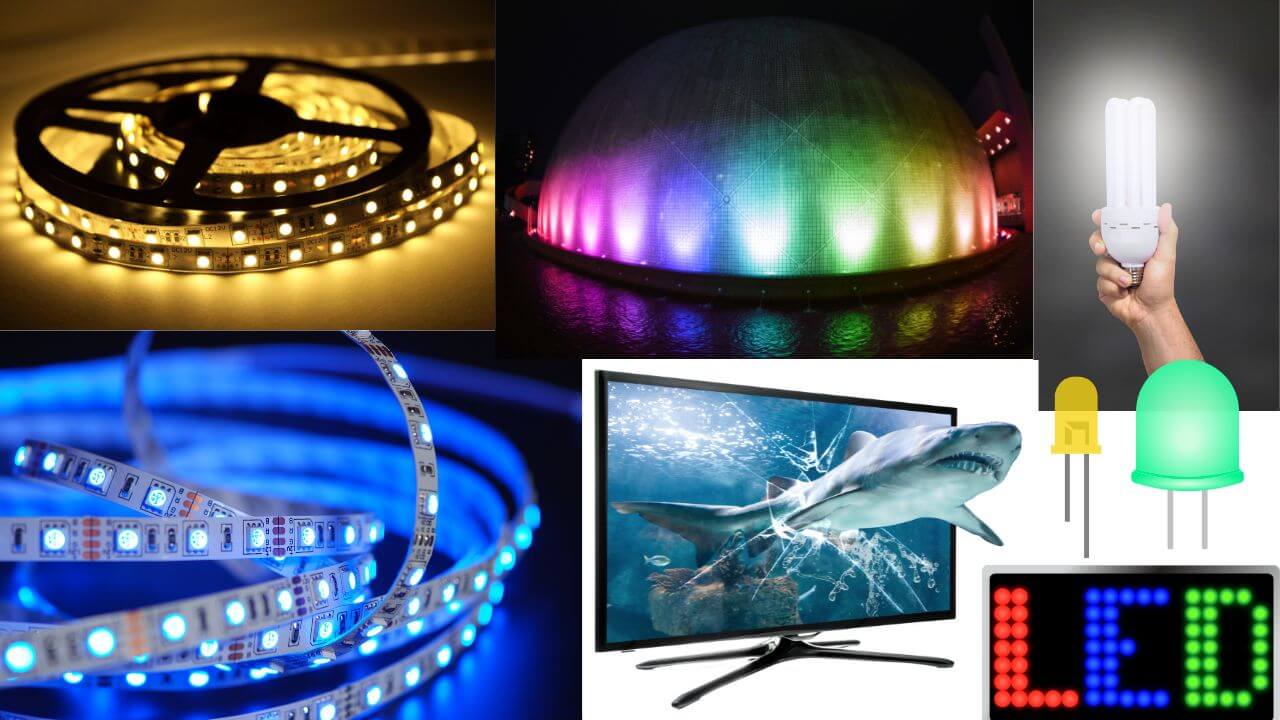
You’ll find LEDs in lots of places, like the power button on your video game console, the tiny lights on your remote control, or even the twinkling lights on your favorite amusement park ride! They’re super useful, and they help make our world brighter and more colorful.
Find and share name and pics of things around your house that uses LED’s !
Basic Properties of LED’s
1) Polarity
LEDs work like a one-way street for electricity, allowing it to flow in just one direction. When the electricity flows through the LED the right way, it creates light, and we can see it glow.
Just like batteries have a “+” and a “-” side, LEDs have a positive and negative terminal too. This means that electricity can only flow through them in one direction, from the positive side to the negative side. If we connect them the wrong way, they might not work or even go “pop”!
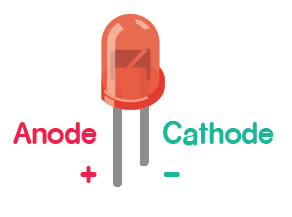
But don’t worry! There’s a super easy way to figure out which side is which. The LED has two little legs, and one is longer than the other. The longer leg is the positive side, which we call the “anode,” and the shorter one is the negative side, known as the “cathode.” So, just remember: long leg (anode) means positive, short leg (cathode) means negative, and you’ll be all set to light up your LED!
2) Intensity
When we talk about the intensity of an LED, we’re talking about how bright it shines. Just like how you can turn the volume up or down on your favorite song, we can also make an LED glow brighter or dimmer.

The intensity of an LED depends on the amount of electric current flowing through it. So, if there’s more current, the LED will shine brighter, and if there’s less current, it will be dimmer. That way, we can have just the right amount of light for our projects and have fun playing with different levels of brightness!
3) Current Limit
When we use LEDs, there’s something important we need to remember – they have a current limit. Think of it like a race car: it can only go so fast before it’s not safe anymore. LEDs are the same way with electricity.

Every electronic device around us has its own limit on how much electric current it can handle. This special limit is called the “current rating.”
LEDs have their own current rating too. They can only handle a certain amount of current before they might stop working, like a toy that breaks if we play too rough. Most LEDs have a current rating of 20 mA, which is the same as 0.02A.
So, when we’re using LEDs, we need to make sure we stay within their current rating to keep them shining brightly and safely!
Activity
Your STEM kit is packed with lots of colorful LEDs, and now it’s time to find out their anodes, cathodes, and colors using the same cool circuit you built in the previous chapter. Don’t worry, we’ve got the circuit diagram right here to help you out!
Remember, the longer leg of the LED is the anode (positive side), and the shorter leg is the cathode (negative side). By plugging the LEDs into the circuit you made earlier, you can watch them light up in all their amazing colors!
So, grab your circuit diagram, gather your LEDs, and get ready to have a blast discovering the world of colorful LED lights in your STEM kit. Have fun and happy exploring!

just keep changing the LEDs in this circuit, see them all glow, find out their colors, and share pics with us!
also, try changing resistors of different values, notice any change? tell us what you have noticed!
Awesome work, little inventor! You must have had a blast learning about LEDs and how they work. We bet you’re a pro at using them now! We’d absolutely love to see your shining masterpiece. So, if you can, snap a photo of your glowing LED creation and share it with us. We can’t wait to celebrate your amazing accomplishment together! Keep on shining and exploring the world of electronics!
However, if you’ve encountered any issues and your LED isn’t shining bright, don’t worry. We’re here to help! Share your concerns or questions with us in the comments, and our friendly community of fellow explorers will gladly offer their guidance and support.
Remember, every challenge is an opportunity to learn and grow. Together, we’ll make sure you conquer the world of breadboarding and electronics!
Watch this video if you want to learn more about LED’s! (Extra Resource)


